Chapter 4-4: The ILF Editor |
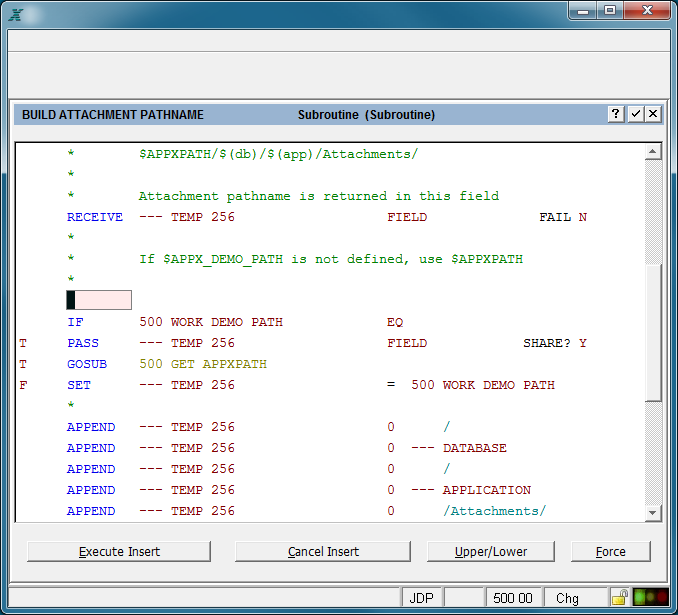
ADD MODE Select Add mode (option 9, F9) when you want to enter statements in a new ILF routine, or when you want to insert additional statements in an existing routine. First, position the cursor anywhere on the statement before which you want to insert a new statement line and then select add mode. The screen that displays when you select this option differs from other editor screens: there is one blank line, the keyword area shows pseudo blanks, and the cursor is positioned on the first character of the keyword area. The editor is effectively reserving one line so you can enter a new statement. Now enter the desired keyword and then press Enter. The screen at this point appears as follows:
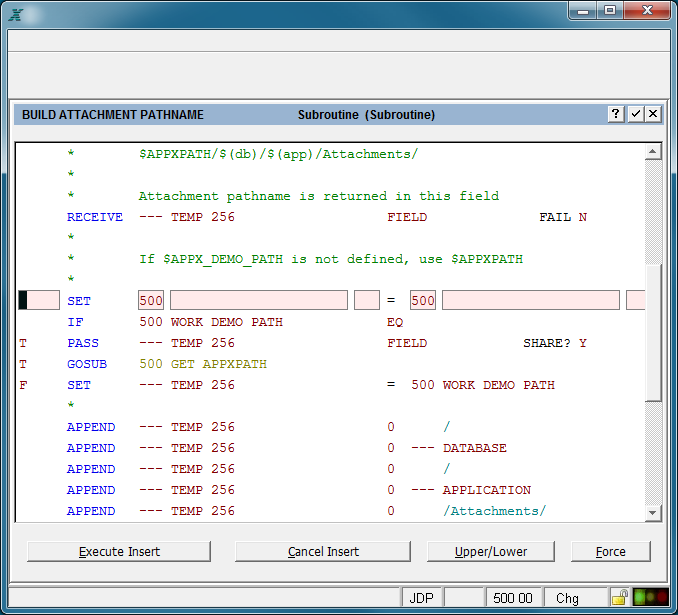
An ILF Editor Screen in Add Mode After you press Enter, the appropriate format 'template' for the statement type you specified with the keyword displays. For example, the screen below displays for a SET statement.
A SET Statement Format Template in Add Mode The editor may display some default field values that you are likely to use, such as the application ID. You can override these defaults by entering the desired values or by entering spaces. When you enter a field name, APPX automatically searches for that name in the specified application's data dictionary. If it finds the specified field, it leaves the application ID as is. If it does not find the field, it next searches for the field in the runtime application's data dictionary (where all predefined fields are defined). If it finds the specified field, APPX automatically changes the application ID to '---' to signify the runtime application. If it does not find the field in either place, the editor provides an error message. You now must enter all the statement operands that are appropriate for the keyword you specified. Table 4-1-1 provides a complete list of statement keywords by category, and ILF Keyword Reference describes each statement in detail, including syntax requirements and available options. After you completely specify a statement, press Enter to save the inserted statement in the existing routine. Then, APPX allows you to insert another statement by reserving a new line with pseudo blanks in the keyword area. The same cycle continues until you complete inserting all your statements. When you finish, leave the keyword blank and press Enter to return to display mode. The following options are available in add mode: Return to Execute Insert. Press Enter when you want to insert the current statement. Cancel (Cancel Insert) cancels the insert. Selecting this option from the tool bar returns you to display mode. Any statements you entered on the screen are lost. Upper/Lower allows you to enter upper- and lowercase letters. Some statements automatically default to upper/lowercase. Examples are CANCEL, ERROR, MESSAGE, and WARNING. Most other statements default to all uppercase. Sometimes you may want to specify message text that uses upper- and lowercase appropriately, without using the MESSAGE statement. You select this option to 'toggle' between the uppercase-only and upper-and-lowercase modes. |
Application Design Manual "Powered by Appx Software"1138 ©2006 By APPX Software, Inc. All Rights Reserved |